LEVELS.
By going straight to 'Levels' (Apple L), you can change the levels of black, grey and white.
Which can adjust the image giving it some depth or make it lighter. 0 is absolute black and 255
is absolute white. You control these by dragging the anchor points. You can also adjust the output
levels, which plays with the tonal range, but unless you're looking for a less vibrant look, this is
rarely used.
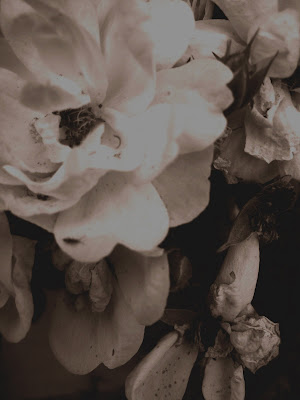
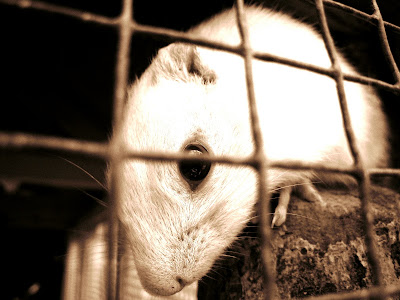
Here are a couple of examples of some photos taken by me that I've played about with...
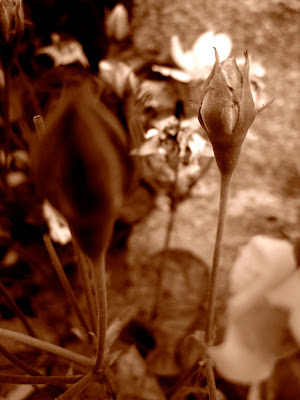
Original.
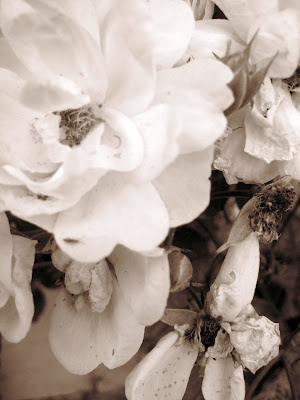
Adjusting the output.
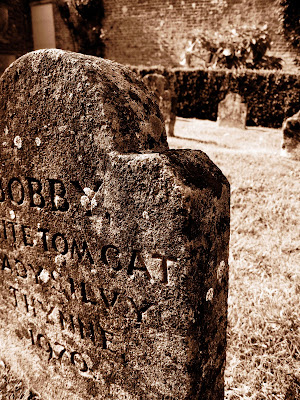
Original.
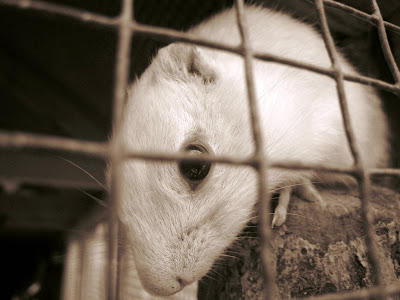
After altering the Levels.
CURVES.
Curves appear to be just a step up from levels, they are a little more technical than levels.
People usually use the S code, which means moving the anchor points to look like an S... shown
below...


You can also change the channels, such as red and blue. Plus playing around with presets
eg. negatives.
SHARPENING IMAGES - Filters.
There are two which are used, smart sharpen and unsharp mask. In the 'Amount' bit, you shouldnt
really go above 100. For the 'radius' you divide by what resolution you are priting at.
SMART SHARPEN.
This is roughly the same, but you can use Lens blur and other features, this one only removes
hard edges. 'Radius: 1.5'
HUE AND SATURATION.
It is important to use non-destructive editing layers, when adjusting these things on an image.
Otherwise you loose your original image. It adds an adjustment and works in layers rather than
filters.
Original.

Adapted...

LAYER MASK.
The example we used was cutting out a guy from a photo and putting him into a different background.
Using the quick selection tool is the best way of doing it. Then to Layer - Layer Mask, cut out
the person.
BLUR.
HEALING TOOLS.
This is mostly used when re-touching photos of people, but can be used for other things.
Alt - click on skin tone/colour you want, then click on bits of skin to change the colour.
Dodge Tool - this is useful for whitening teeth, it basically whitens anything beneath it.
Burn Tool - Makes whatevers beneath darker...eg...giving a grey hair a darker tone.
RED EYE TOOL.
This is basic, selecting the area with all the eye in, then clicking the red eye tool, this gets rid
of it just like that.
SELECTIVE COLOUR.
This is used when you desaturate an image but want one colour to come through, the example
we had was a ladies face, and we made it greyscale, then to bring out the colour on her lips
through.
New layer - drag to new layer.
Hue and saturation, de-saturate - 100
Adjustments, levels or variations
Layer Mask > Reveal all.
Paint Brush - Change box to black, reveals red.
LAYER STYLE.
This was by far one of the most special things I have seen in a while. In basic terms, it takes lots of photos that you've taken in succession of movement but with one still thing behind it all, eg.building with people walking
in front or fireworks? Then to put all the photos together, then enabling you to get rid of the people, or in the case of fireworks, build them up to make one big firework.
Here are the images we did in the workshop...


Fireworks....


These are some other photos I took and adapted...


This is an interesting film of someone airbrushing a womens face... I think it shows what a powerful
tool photoshop is...
No comments:
Post a Comment