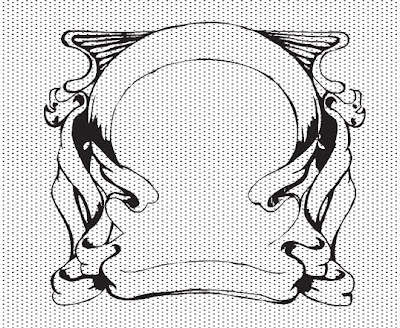
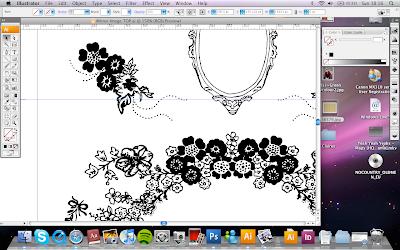
I started with this Screen-print and flock design...
Creating the dots through using swatches in Illustrator (something very useful which I'm glad I now know! SWATCHES). Then to hand draw the frame structure and live trace it to produce a vector image. By upping the threshold, you create thicker and darker lines. I plan to flock the frame structure, whilst screen-printing the rest. I used a photo for the child, then to adjust the .... in photoshop.
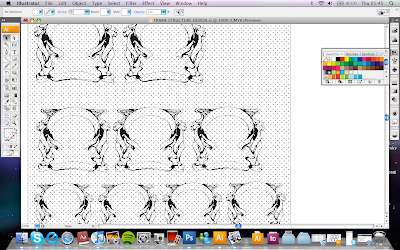
Changing the size of an image is easy but making sure they're all the same size takes a long time. I'm still not sure what size to use...
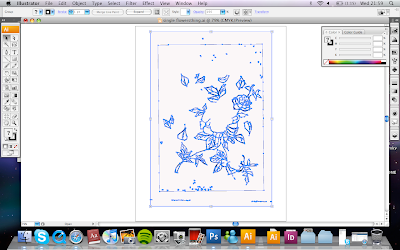
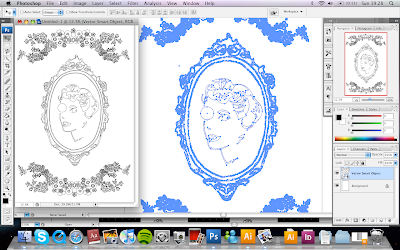
I'm also doing a plain screenprint on a different colour. The screenprinted image will have originally come from a lino print I did, which I live traced, as you can see below...the blue symbolises the vector image.
Because I was learning as I went... I really don't think I did this in the easiest way possible, but at least i know how to fill an image? You always need to make sure the fill colour is not on.

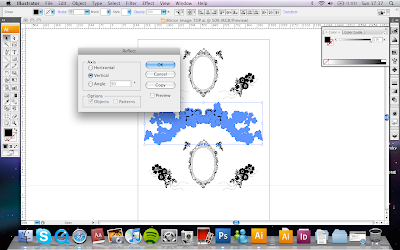
Something else useful, especially when creating wallpapers, is using the reflect key, under transform. This enabled me to draw one side of things and create amazingly symmetrical wallpaper.
Through putting these wallpapers together I have also learnt simple things like just, how to select things and move them together (grouping), or how to deselect things with ease.
There is also a ruler tool that you can use to line stuff up perfectly and check distances. It brings up a blue line. Also deleting anchor points to neaten up edges is a useful tool.
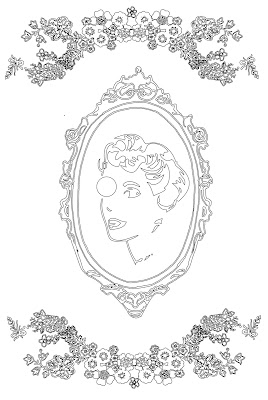
Taking away the fill, (making sure the red lines through it), gives you a painting by numbers look...

No comments:
Post a Comment